Filled polypropylene – Furniture
|
Title |
FAILURE ANALYSIS OF POLYMER FURNITURE COMPONENTS |
|
Date |
2013 |
|
Objective |
To determine the cause of failure of a polymer furniture component. |
|
Photo |
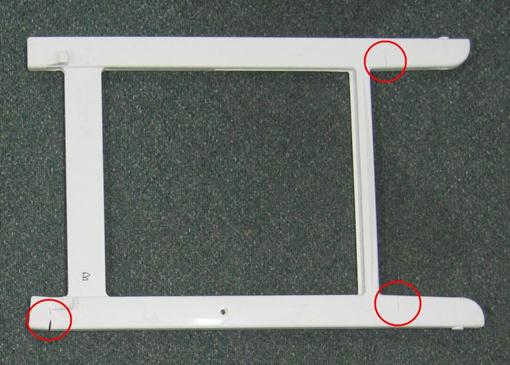
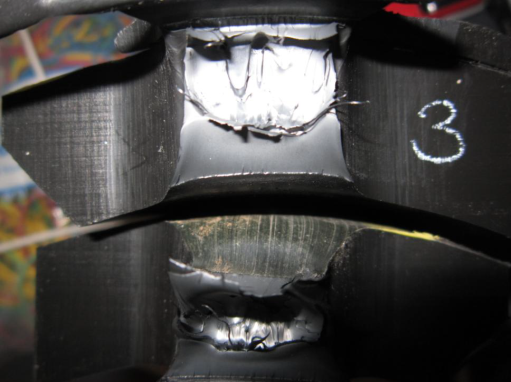
Figure 1. Close-up of Sample B – failed sample (cracks circled).
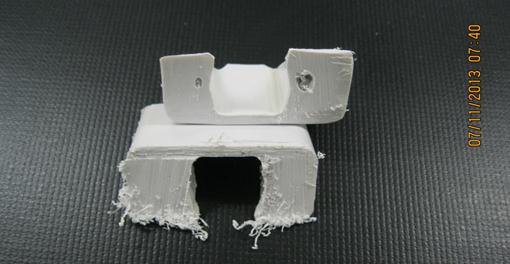
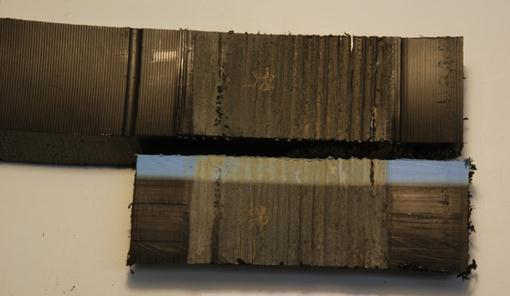
Figure 2. A Specimen showing voids in the material removed from Sample B prior toashing. |
|
Testing Undertaken |
FT-IR analysis according to ASTM E 573, using an Alpha Measurement Module byBrukerOptik Thermal analysis by DSC according to ASTM D 3418, using a DSC Q20 by TA instruments Ash testing according to the residue on ashing procedure described in ASTM D 2584. |
|
Failure Mode and Recommendations |
The failures are due to shrinkage cracking where the polymer undergoes post-moulding shrinkage but is constrained by the metal insert causing the polymer to be placed in tension. The presence of a high level of filler and the use of PPhomopolymer make the polymer less able to resist these tensile forces so cracking occurs. The internal voids are moulding defects due to volatiles or shrinkage voids and these lower the material strength of the polymer. Mould shrinking can be limited by increasing mould temperature, controlling the moulding variables, the thermal history of the moulding (temperature, cooling rate, part thickness and gate dimensions). Heating the metal inserts close to the mould temperature before moulding removes differences in thermal expansion that can lead to stress build-up at the metal/plastic interface.
|
Flexible polypropylene (RPP) – Geomembrane
|
Title |
TESTING OF REINFORCED FLEXIBLE POLYPROPYLENE (R-PP) GEOMEMBRANE SAMPLES |
|
Date |
2013 |
|
Objective |
Comparative testing of five reinforced flexible polypropylene (R-PP) cover samples |
|
Testing Undertaken |
Breaking Strength: Procedure A – Grab Test Method (ASTM D 751) Trapezoidal Tear (ASTM D 4533) Carbonyl Index (based on ASTM F2102) Surface microscopy (photographs for assessing micro-cracking) Weld Shear (ASTM D 6392) Ply Adhesion (ASTM D 6636) |
|
Conclusion |
ATR FT-IR data indicated that all the used samples had undergone significant oxidation. Micrograph showed considerable crazing of the exposed samples but no micro-cracking was evident. |
Flexible polypropylene (RPP) – Liners
|
Title |
TESTING OF REINFORCED FLEXIBLE POLYPROPYLENE (RPP) GEOMEMBRANE SAMPLES |
|
Date |
2013 |
|
Objective |
To conduct comparative testing on three reinforced flexible polypropylene (RPP) cover samples. |
|
Photo |
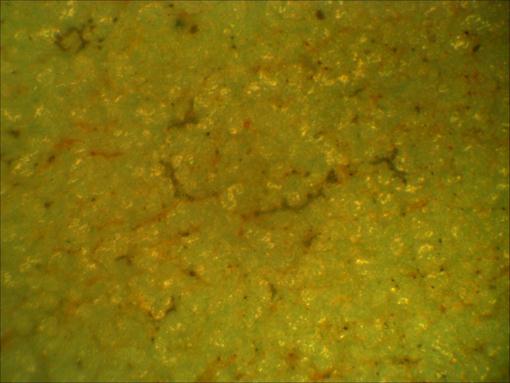
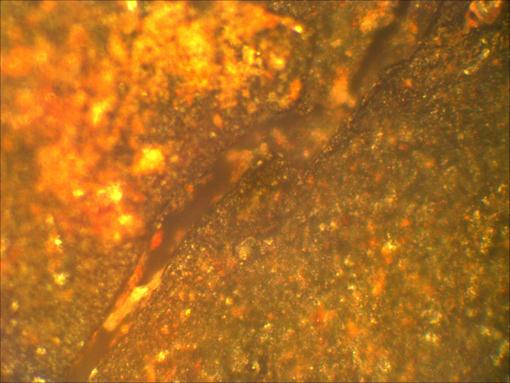
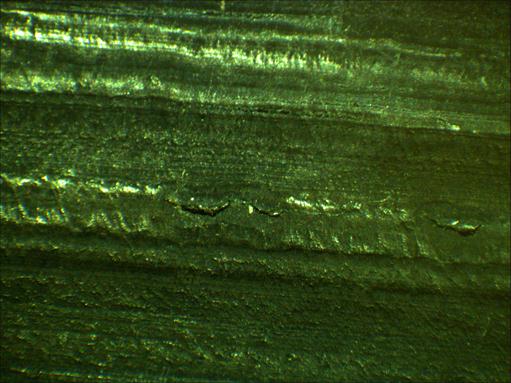
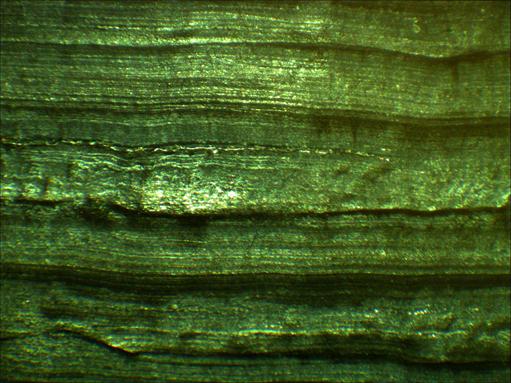
Figure 1. Surface Detail x200 magnification – no surface micro-cracking evident but slight crazing only.
Figure 2. Surface Detail x200 magnification – surface micro-cracking and fissuring evident.
Figure 3. Surface Detail x200 magnification – surface micro-flaking evident.
Figure 4. Surface Detail x200 magnification – surface crazing/chalking evident.
Figure 5. Surface Detail x200 magnification – surface micro-cracking and flaking evident. |
|
Testing Undertaken |
Surface microscopy Grab Tensile Strength: ASTM D751, Procedure A Trap Tear Strength: ASTM D4533 HP-OIT: ASTM D5885 IR: ASTM F2102 Surface infra-red analysis and carbonyl index |
|
Conclusion |
The sample L was the most degraded (lowest HP-OIT values and lowest mechanical properties, with the black surface showing extensive cracking consistent with its relatively high carbonyl index (0.12). The black side appears to have been subject to chlorine attach leading to destruction of the stabilizers and oxidative embrittlement of the black ply. Samples L and Ware less degraded than Sample L but still show evidence of oxidation and cracking of the black side and some crazing of the coloured side. Sample U had the highest retained stabiliser levels on the coloured side, the lowest carbonyl index for the coloured side, and the highest retained grab tensile strength and trap tear strength in direction 2. |
High density polyethylene (HDPE)- Electrofusion weld
|
Title |
ASSESSMENT OF AN ELECTROFUSION WELD |
|
Date |
2013 |
|
Objective |
To assess the condition of electrofusion weld assembly samples. |
|
Photo |
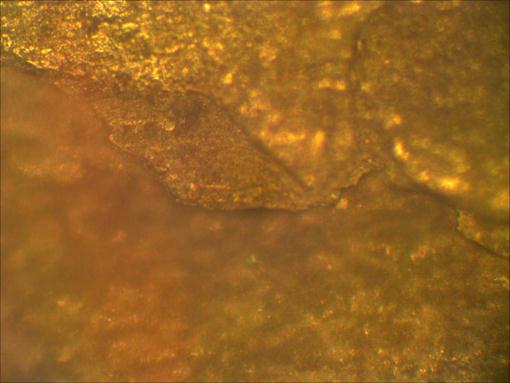
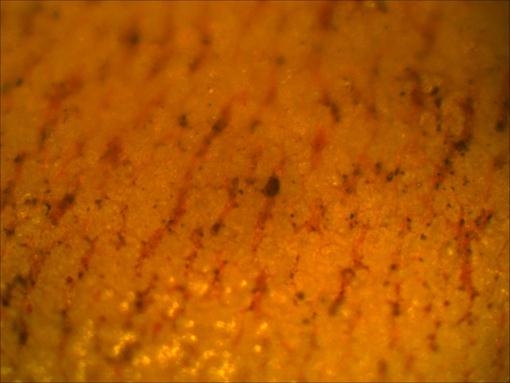
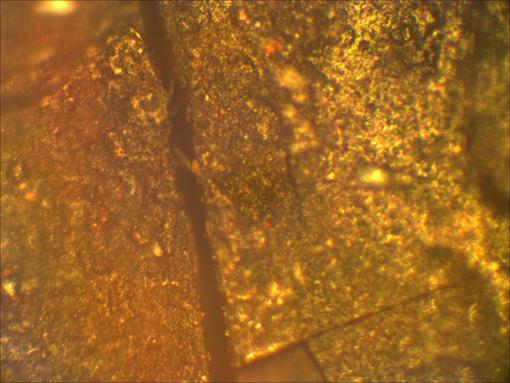
Figure 1. Mating surfaces of specimen showing some melting of the surfaces (as evidenced by visible ridges)
Figure 2. Socket magnified surface
Figure 3. Pipe magnified surface |
|
Testing Undertaken |
Failure analysis |
|
Failure Analysis |
The weld failure was most likely caused by the mating surfaces not being hot enough for the materials to meld together. |
High density polyethylene (HDPE) – Pipe
|
Title |
TENSILE TESTING OF BUTT FUSED HDPE PIPE SAMPLES |
|
Date |
2013 |
|
Objective |
To measure the tensile properties of HDPE pipe samples for qualification or production testing purposes |
|
Photo |
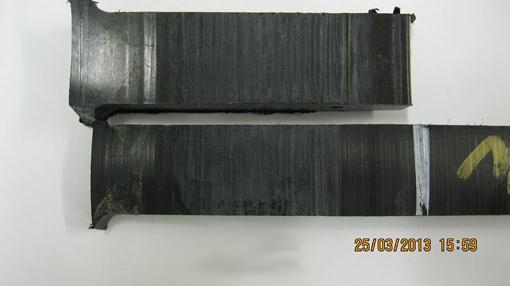
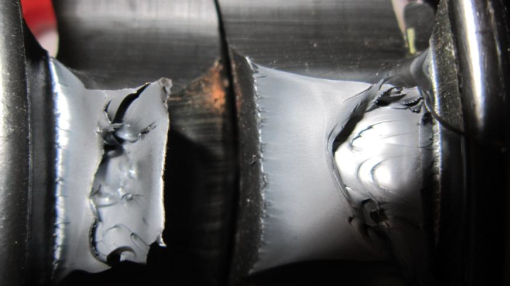
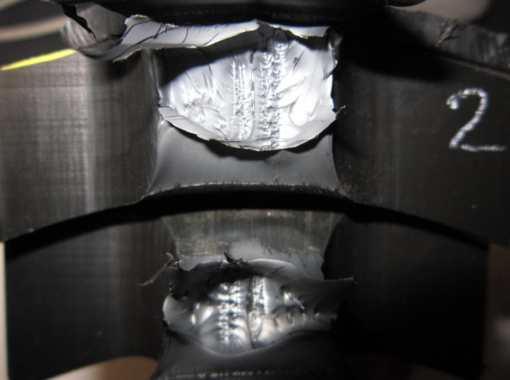
Figure 1. Specimen 1 failure mode (ductile break)
Figure 2. Specimen 2 failure mode (ductile break)
Figure 3. Specimen 3 failure mode (ductile break) |
|
Testing Undertaken |
Tensile properties testing per ISO 13953:2001(E) |
High density polyethylene (HDPE) -Pipe electrofusion weld
|
Title |
FAILED ELECTROFUSION WELD |
|
Date |
2013 |
|
Objective |
To investigate the cause of a failed Electrofusion weld |
|
Photo |
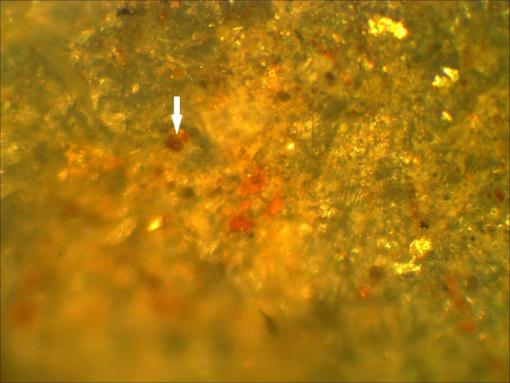
Figure 1. Pipe weld section after extensive cleaning. Some mud remained in weld. Long thing contaminant noticed that had mirror image on the fitting surface.
Figure 2. Weld Area at x200 magnification revealing dirt particles melted into surface of specimen |
|
Testing Undertaken |
Failure analysis under microscope |
|
Failure Mode |
Although the pipe and fitting were hot enough to melt the polymer, the surfaces were never close enough or clean enough for a proper joint to form. |
High density polyethylene (HDPE) – Sewer liners
|
Title |
CRACKING OF 5MM HDPE SHEET LINER IN A SEWER |
|
Date |
2012 |
|
Objective |
To test coupons/retrieved samples to determine the root cause of embrittlementand cracking failures of a 5mm thick HDPE lining sheet installed in a sewer tunnel approximately 4 years ago. |
|
Photo |
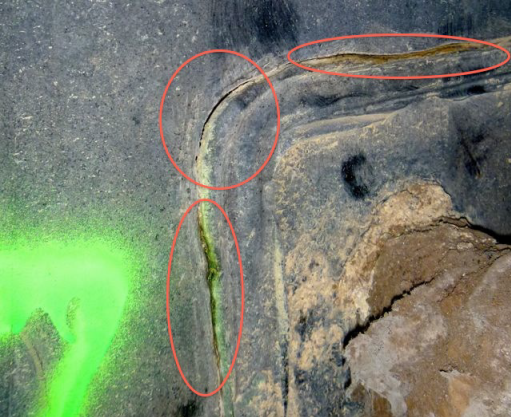
Figure 1. Observed cracking |
|
Testing Undertaken |
DSC Thermal analysis OIT Melt flow index Density determination Microscopy Peel testing |
|
Failure Analysis |
The 5mm HDPE sheet failed by brittle stress cracking (environmental stress cracking).
The root cause of the cracking was poor material selection as the grade of HDPE used was a homopolymer grade which has excessively high density and high %crystallinity and a marked propensity to undergo stress cracking. |
Low density polyethylene (LDPE) – Safety wear(kneepads)
|
Title |
KNEE PAD MATERIAL IDENTIFICATION AND PERFORMANCE TESTING |
|
Date |
2013 |
|
Objective |
To determine the performance properties and possible identity of the materials used in a kneepad sample |
|
Testing Undertaken |
FT-IR DSC Flexural crack (cyclic fatigue) Hardness (DurometerShore A) |
|
Conclusion |
FT-IR and DSC analysis indicated the kneepad was constructed from LDPE foam with a small amount of EVA. No flex cracking or flex damaged was observed after 1,000,000 oscillations. The kneepad tested had a larger hardness value than the two kneepads previously tested. |
Multilayer Plastic Laminate – Packaging
|
Title |
DELAMINATION FAILURE OF MULTILAYER PLASTIC LAMINATE PACKAGING |
|
Date |
2013 |
|
Objective |
To investigate the origin of delamination defects (ie. adhesion failure of the top clear coating) of a plastic laminate used in packaging bags for dog food. |
|
Photo |
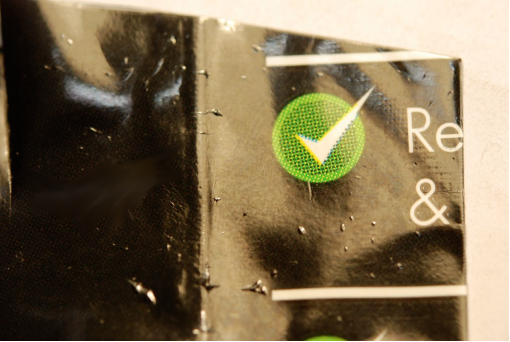
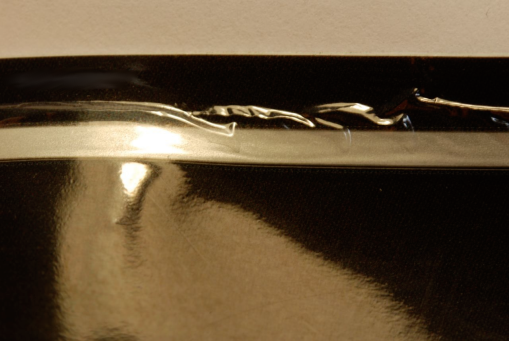
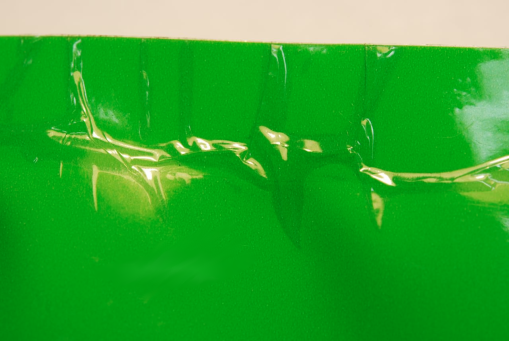
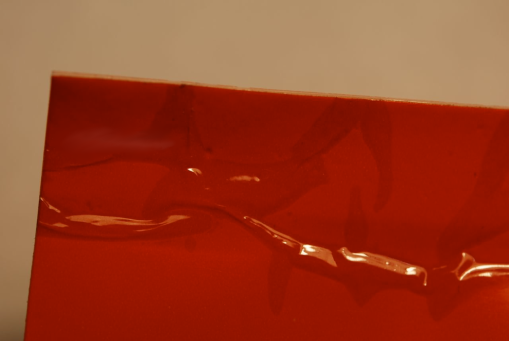
Figure 1a, 1b, 1c, 1d. Photomicroscopy of samples 1, 2, 3 and 4. |
|
Testing Undertaken |
Photomicroscopy FTIR TOF-SIMS |
|
Failure Analysis |
Delamination was associated with the presence of areas of silicone contamination. |
Nylon – Fibres
|
Title |
PURITY OF NYLON SAMPLES |
|
Date |
2013 |
|
Objective |
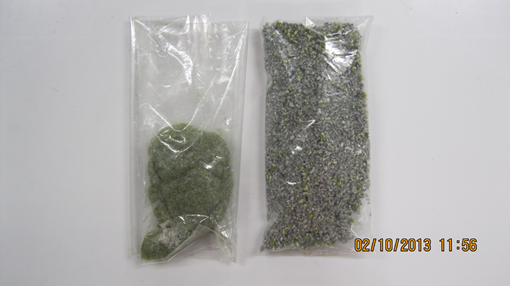
To measure the nylon 6,6 content of two samples. Samples were recycled material. Not supplied with identification/description, identified in report as Green Fibre Mixture and Grey w/ Green Fibre Mixture. |
|
Photo |
|
|
Testing Undertaken |
ASTM D 3418 Thermal properties were tested using Differential scanning calorimetry (DSC),crystallinity was also measured |
|
Conclusion |
DSC indicated the green fibrous sample was Nylon 6. Crystallinity measurements of the Grey w/ Green sample indicated it contained Nylon 6 |
